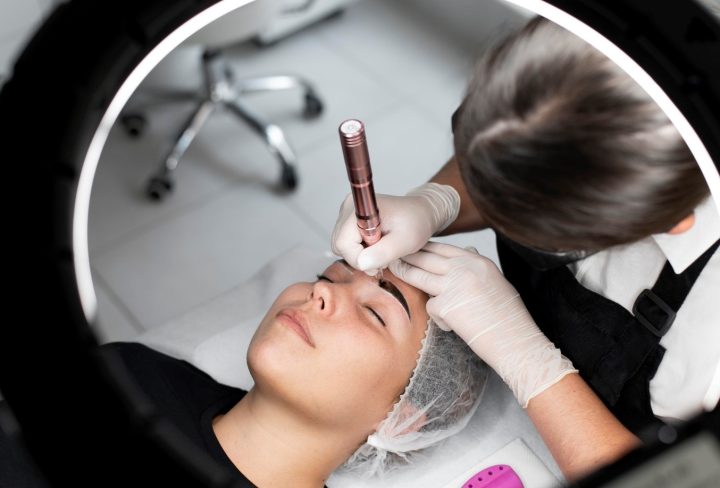
In the realm of beauty, the allure of Permanent Makeup (PMU) has captured the imagination of many. This innovative technique involves tattooing pigments onto the skin to enhance facial features, offering an enduring solution for those seeking effortless beauty. Let’s dive into the step-by-step PMU procedure while highlighting its transformative benefits.
Step 1: Consultation and Vision PMU starts with a consultation where a skilled artist delves into your goals and preferences. This crucial phase ensures a customized approach that aligns with your desired outcome.
Step 2: Design and Mapping Precision matters. The artist meticulously maps the design onto the treatment area, considering facial symmetry and harmony. Your approval ensures the vision is shared.
Step 3: Numbing for Comfort To ensure your comfort, a numbing agent is applied. Discomfort is minimized, making the procedure more manageable for everyone.
Step 4: Pigment Implantation Using specialized equipment, the artist gently implants pigments into the skin’s upper layers. The technique requires precision, resulting in natural-looking enhancements.
Step 5: Aftercare and Healing Post-procedure care is vital. Following aftercare instructions promotes healing and pigment retention. Shielding the treated area from direct sunlight and excess moisture ensures optimal results.
In conclusion, Permanent Makeup (PMU) is a transformative journey towards lasting beauty. By understanding the step-by-step procedure you can confidently embrace this innovative technique. Consult with a certified PMU artist to embark on your journey towards effortless and enduring elegance.


